Sometimes the wrapping is almost as much fun as the gift inside. With a few simple supplies and a little creativity, you can turn everyday paper into something wonderfully personal. We stopped by CATSKILL ART SUPPLY to try our hand at making custom wrapping paper using stamps, ink, and plenty of playful experimentation.
And you don't need to know a thing about printmaking to get started.
GETTING STARTED
Supplies & Stamps
You can keep it simple with ready-made rubber stamps or carve your own designs from a soft-cut printing block or linoleum. Even a potato makes a great stamp! Pick up supplies at Catskill Art Supply and let your imagination lead the way.
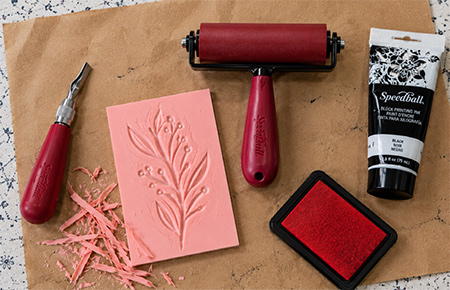
YOU'LL NEED
• Paper (kraft paper, white paper, newspaper, or magazine pages)
• Rubber stamps or carving blocks
• Block-printing ink or stamp pads
• Brayer (ink roller) and inking surface
• Linoleum cutters (if carving your own stamps)
THREE FUN WAYS TO CREATE YOUR OWN STAMPS
1READY-MADE STAMPS
Choose from a wide variety of rubber stamps in shapes you love. Mix and match to create your own designs.
2CARVE YOUR OWN
Use a soft-cut block or linoleum. Sketch a simple design, then carefully carve away the areas you don't want to print, leaving your image raised.
3TRY A POTATO!
Cut a potato in half, pat dry, and carve a simple shape like a heart or star. It's an easy, inexpensive way to experiment (plus it's fun for kids!).
MAKE YOUR WRAPPING PAPER
Ink, Stamp, Repeat
Roll out your paper and start printing. Try repeating one shape in neat rows, scattering impressions, or mixing different designs. Don't worry about making everything perfect — the little variations are what make hand-printed paper so charming.
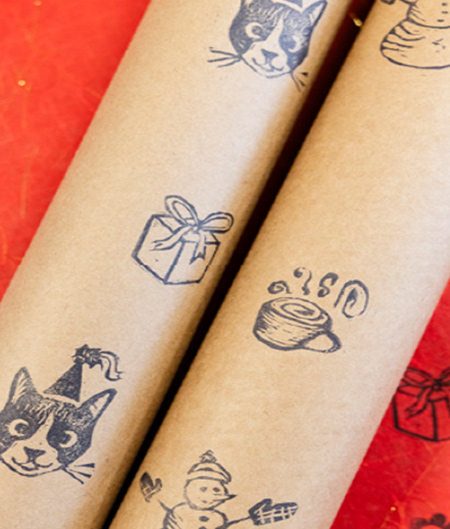
1CHOOSE YOUR CANVAS
Try kraft paper, colorful paper, newspaper, old maps, magazine pages, or even flattened paper bags.
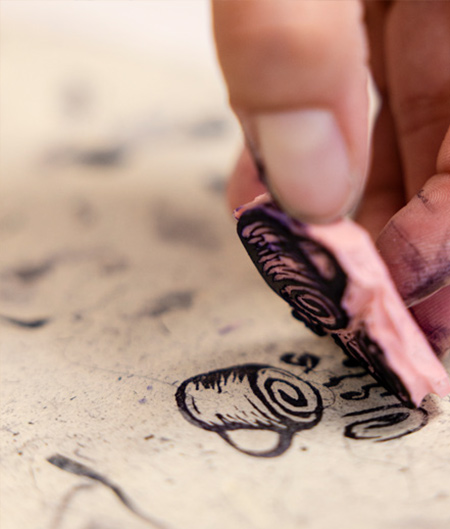
2ADD SOME INK
Use a stamp pad for rubber stamps, or roll a thin, even layer of block-printing ink with a brayer for carved stamps. Test on scrap paper first.
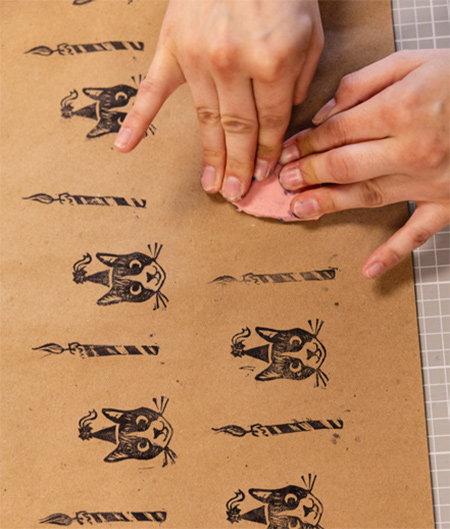
3MAKE A PATTERN
Stamp your design across the paper, turning, repeating, or overlapping. Try one color or mix a few. Play around with colors, shapes, and spacing.
GET CREATIVE
Mix, Layer, Explore
Once your first layer is dry, try adding another color or pattern. Experiment with different surfaces and unexpected tools. One simple stamp can create countless looks by changing the color, spacing, or the paper you print on.
IDEAS TO TRY
• Use multiple colors
• Overlap different shapes
• Print on newspaper or magazine pages
• Try leaves, bubble wrap, or a cardboard tube
• Decorate gift tags, envelopes, paper bags, or fabric
• Leave generous empty space for a modern look
WRAP IT UP
Make It Personal
Once your paper is completely dry, put it to work. Wrap your packages and finish with twine, ribbon, raffia, or a handmade gift tag. Every sheet will be a little different, and that's exactly the point.
Thanks to the artists at Catskill Art Supply in Kingston for bringing this piece to life!