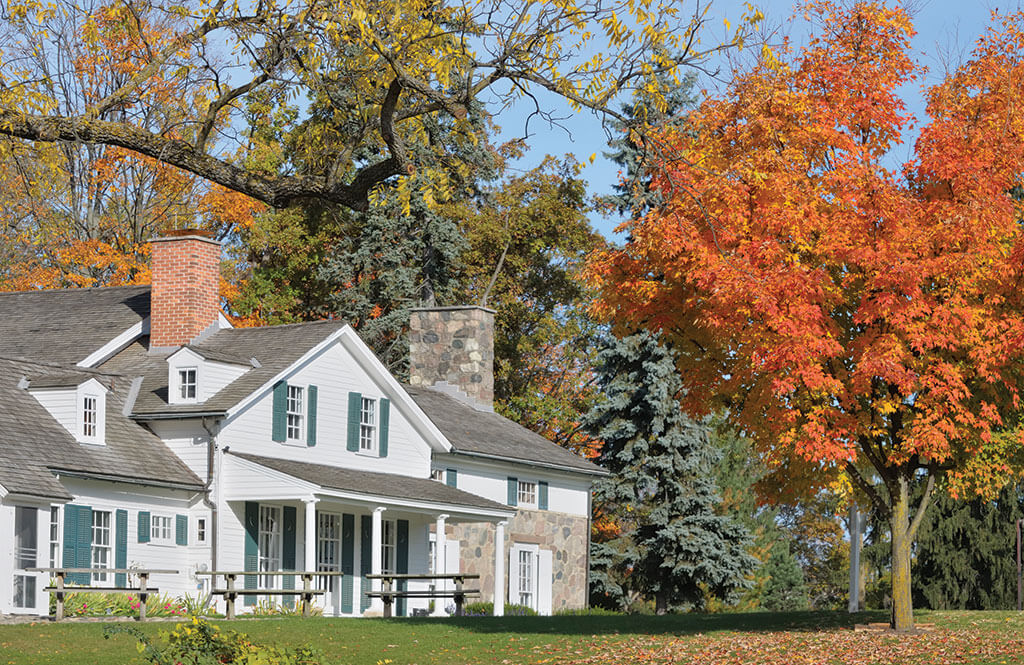
Taking care now can prevent unpleasant winter emergencies and make your home a comfier cocoon.
Critters are growing thicker coats and stashing food, and trees are turning. Nature responds flawlessly to the northern hemisphere’s shift away from the sun. Take a cue from her and batten down the hatches—taking care now can prevent unpleasant winter emergencies and make your home a comfier cocoon. Prepping for winter is a gradual process. Nibble away at these tasks as the opportunity arises. Hire a professional if you need to, or a nearby teenager for some of it. But do get it done—your house will thank you, and you’ll enjoy a happier season.
Here’s our top-to-bottom guide to winterizing.
on the roof
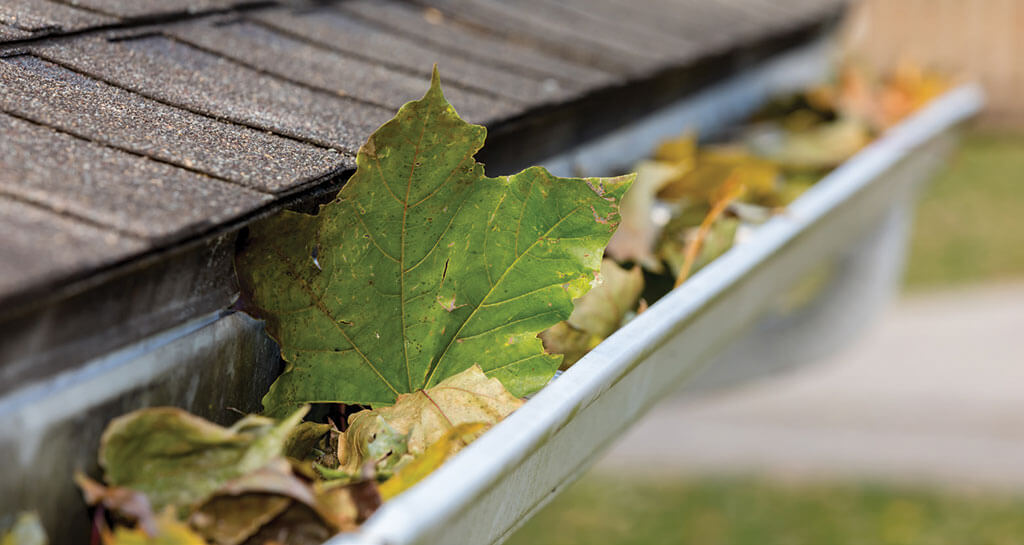
 Clear your roof of all leaves and debris.
 Make sure gutters, downspouts, and the chimney pipe are clean and clear. (If your chimney is grim and grody, Mad Hatter Chimney Sweep has the expertise and equipment to refresh it for you.)
your living quarters
 Apply new caulk or weather stripping to door frames and window frames where needed
 Change any heating system air filters.
 Consider an energy audit. NYSERDA (New York State Energy Research and Development Authority) will come and check your home for air leaks that could be costing you money.
 Replace screens with storm windows
 Research suppliers of wood, propane, or oil and arrange for delivery.

in the yard
 Clear any water lines that might freeze. Coil and store hoses.
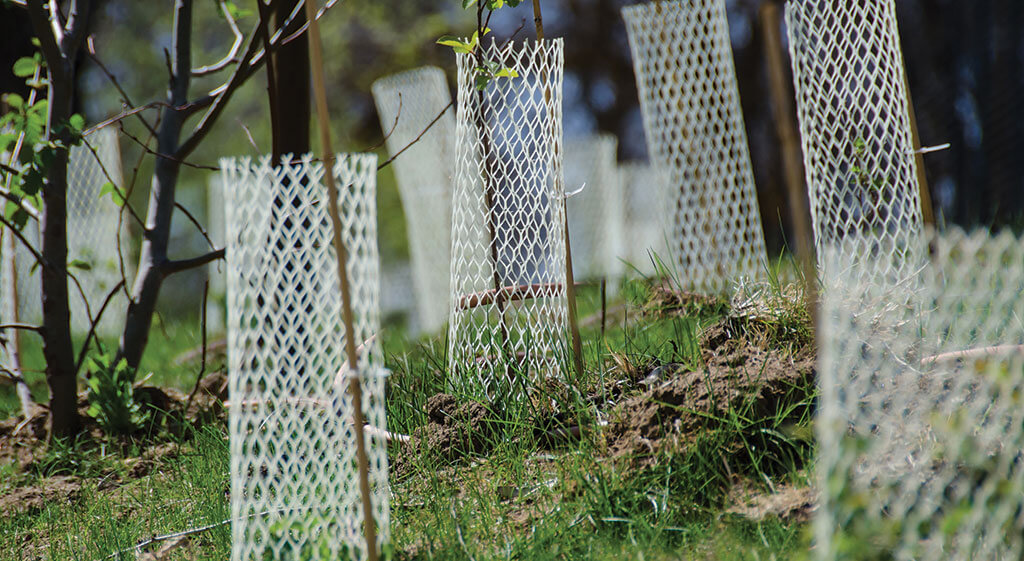
 Protect the bark of all young fruit and ornamental trees with plastic or metal vole protection. Turn compost piles.
 Check your foundation for holes where bugs or rodents can come in and fill with expanding foam.
 Put out reflectors to mark your driveway for the plow operator. Remember to overcompensate because gravel will be pushed everywhere.
 Make sure snow shovels are accessible and in good working order.
in the basement
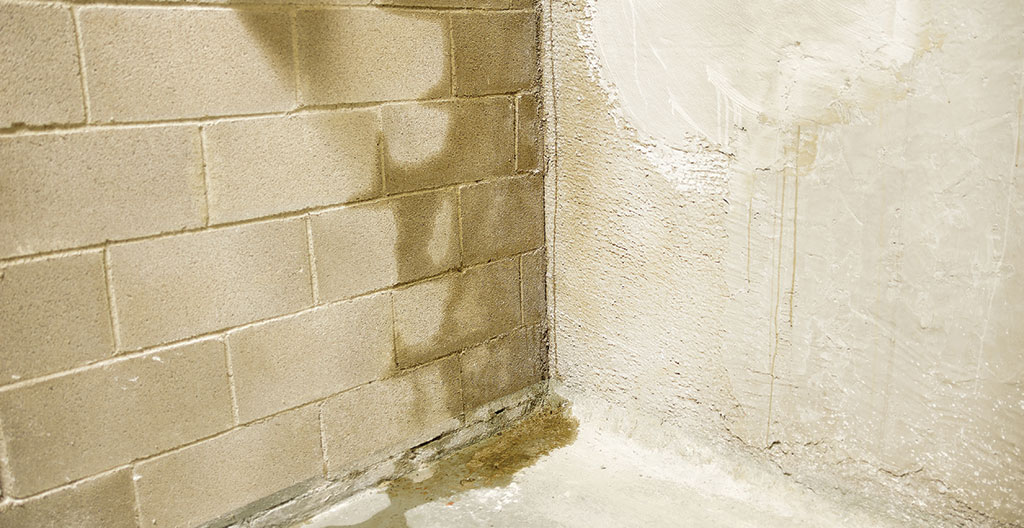
 Check for leaks and damp spots. If needed, apply sealant and waterproof paint.
 Have a professional service your furnace or heating system and hot water heater if needed.
leaf lore
 Wait until all of the leaves have fallen and dried before raking. They’ll wait. But you do want to rake leaves from areas of grassy lawn and other plantings to prevent smothering. Get the right tools, including a sturdy pair of gloves, a lightweight tarp, and a wide “no clog” rake.
 Rake in the direction the wind’s blowing. Rake leaves into rows, and then each row into a pile atop your tarp, which can then be dragged to your central pile. Finally, rake your whole pile onto the tarp or bag ‘em up so the first breeze doesn’t undo your hard work.
 Pile your leaves out of the way, top with nitrogen-rich grass clippings or vegetable waste, and turn once a month to compost.

wood wisdom
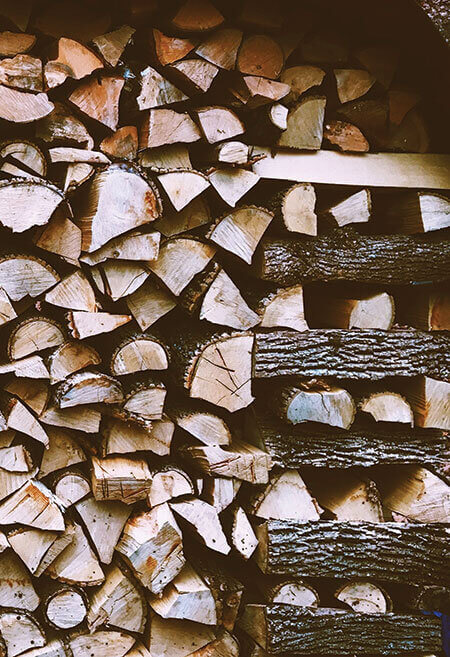
 Make sure you have enough firewood for the winter, nicely stacked. Pick a spot at least 5 feet from your exterior wall (30 feet if you live in a wildfire area, which these mountains are some years) and lay down a couple of long two-by-fours or old pallets as a base. Firewood stacked on the ground is more likely to be damp, rotten and bug-infested, and you’ll be bringing this stuff into your house.
 Orient your woodpile so that prevailing winds will blow through the stack and not against it. Airflow is key; you want your wood to continue to “season” nicely. A tower at each end made of about six layers of split logs, each layer laid perpendicular to the last, will hold your wood securely in its pile. Stack loosely, with the cut ends exposed.
 A lean-to, woodshed, or even a sheet of tin over the stack can keep the worst of the rain off; failing that, have a spot near your stove or fireplace where you can put enough wood to dry out on rainy days.
 Make sure you’ve got a fireproof floor surface around and in front of your fireplace or stove, and a decent set of tools: poker, tongs, fireplace shovel, and whisk broom.
Happy hibernating !
