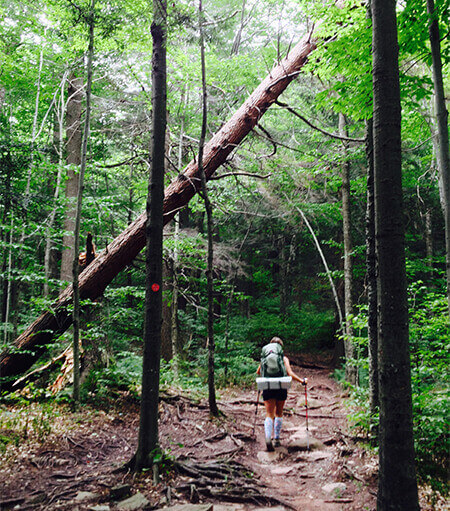
So you’re interested in backcountry camping, huh? Wonderful! With the hullabaloo that is everyday life, it’s become more and more rewarding to disconnect from it all and escape into nature.
Sure, you’ve been day-hiking and car-camping many-a-time, but you’re seeking a true wilderness experience.
Cue backcountry camping—aka, the act of carrying survival essentials on your back for an overnight stay in the woods—and enjoying it! While this activity is a truly exceptional way to experience the outdoors, you’ll need to satisfy a few prerequisites before setting out on the trail to wilder bliss.
Below you’ll find a few steps to basic backpacking. Now this is not an extensive list, but an introductory guide to get you started and well on your way into the great outdoors. That being said … let’s begin!
A couple of backcountry camping areas to explore*:
• The Blackhead Range of the Catskills
• Echo Lake in the Indian Head Wilderness of the Catskills
*Purchase NYNJTC Trail Map 141 for further details on these areas.
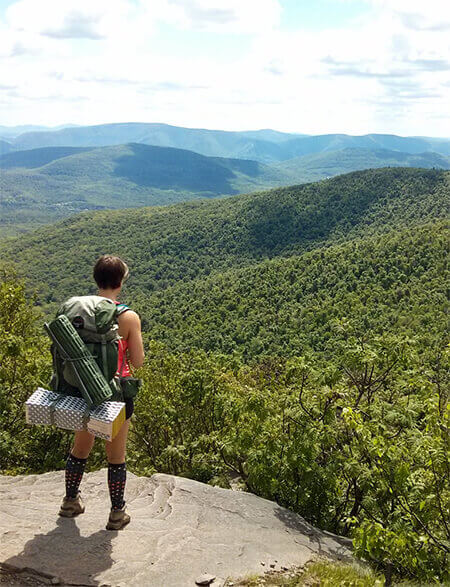
Step 1 – choose your destination:
• First time? Choose a park or area you’re familiar with.
• Know the backcountry-camping and leave-no-trace regulations for your destination! Do you need a permit? Overnight parking? Fires permitted? Look up primitive camping on the New York State DEC website for more info.
• Know your limits—don’t get too ambitious with mileage; expect to move more slowly with a heavy pack.
• Lakes and streams make wonderful destinations, just be sure to camp 150 feet away from water sources, or in a designated campsite.
• Be sure to locate water sources on your map prior to setting out to ensure you’ll have water available to filter.
• The little tent with a “P” on NY-NJ Trail Conference maps signifies primitive campsites, i.e. flat ground + fire pits. These are perfect for first-timers (or seasoned veterans!).
• Lean-to’s are also an option for backpacking (the encircled “S” on your map for shelter) … though I find tent camping more pleasant.
• Check the weather and pack accordingly—shoot for a non-rainy day if it’s your first time (unless you’re a glutton for punishment!).
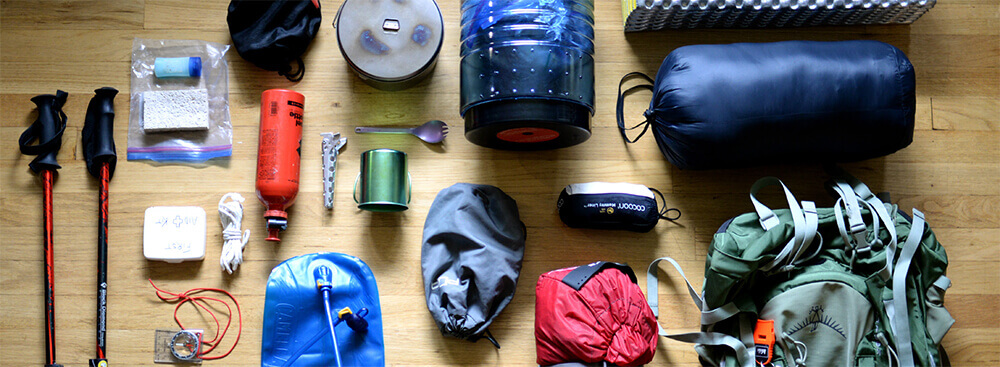
step 2 – gear up:
• Backpack
• Hiking boots
• Stove
• Fuel
• Ignition method (i.e., matches or lighter)
• Cutlery (sporks)
• Sleeping bags
• Sleeping pads
• Trekking poles
• Water filter
• Water bladder
• Tent
• Bear canister
• Camp sponge + camp soap (recommended: Campsuds)
• Headlamp
• Maps
• Compass
• Knife/multi-tool
• First aid kit
• Pack towel or bandana • Layered clothing (it’s generally much cooler in the woods than at home) • Camp shoes (aka, light sandals/flip-flops)
• Sunglasses
• Toiletries (toothbrush, small toothpaste)
• Toilet paper + trowel
• Hand sanitizer (or just use camp soap)
• WATER (carry at least two liters per person per day)
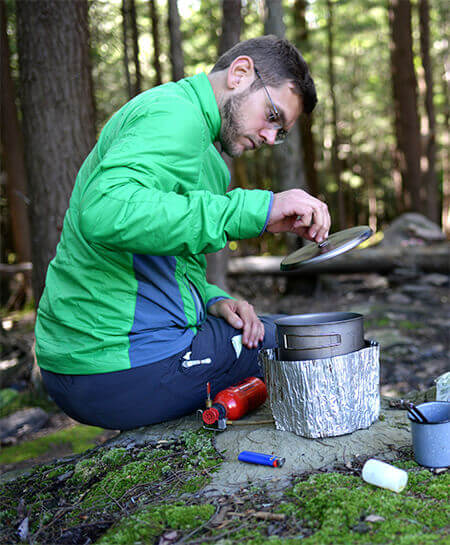
step 3 – stock your portable pantry:
Mix and match:
• Oatmeal + nuts + dried fruit (breakfast)
• Dehydrated mashed potatoes
• Dehydrated vegetables (kale, broccoli, peppers)
• Instant rice
• Soba noodles
• Tuna packets
• Salmon packets
• Chicken packets
• Condiments!(a must in my book)
• Seasoning
Snacks/quick bites:
• Clif Bars
• Lärabars
• GUs (squeezable energy food)
• Nuts
• Dried fruit
• Popcorn! It’s light to carry and super fun (!)—all you need is a little oil to heat it up over a fire/stove + salt for flavor.
Prepackaged meals (freeze-dried/dehydrated foods):
• Clif Bars
• Mountain House Meals
• Backpacker’s Pantry
step 4 – pack your gear:
• It’s generally recommended, especially if you’re a beginner, to head out with a buddy (#buddysystem). This will allow you to split your gear load between the both of you!
• The general idea is to pack your sleeping bag at the bottom of your bag, followed by heavier items in the middle, and light items on top.
The trick is to evenly pack everything so you’re not lopsided.
Pack so the weight doesn't throw off your center of balance. It's important to note that different types of frame packs should be loaded differently.
• Place snacks and other essentials in an easily accessible spot. Many packs offer pouches on the waste band that are perfect for just this!
• Be sure the weight of your pack (when worn) lies on your hips, not your shoulders. Adjust the pack accordingly to allow proper distribution.
step 5 – head out on the trail!
All right! Once you’ve gotten all of that taken care of, you’re ready to escape civilization and enter the wonders of the wilderness. Just be sure to tell someone outside of your hiking party where you’re headed, just in case. Otherwise, you should be prepared to enjoy a marvelous excursion overnight in nature. Oh, and don’t forget to LEAVE NO TRACE! PACK OUT WHAT YOU PACK IN! etc., etc....
pro-tips & creature comforts:
• Cook your food away from your camp to deter critters.
• Don’t forget to put all toiletries and food waste/wrappers (enclosed in a plastic bag) in your bear canister—this includes toothpaste, lip balm, sunscreen, deodorant, wipes … anything with an odor that critters can mistake for food.
• Before bed, make sure to place your bear can at least 100 feet away from the camp.
• Skittish of bears? Learn about them via the NYNJTC website so you know what to expect and what to do if you see one: nynjtc.org/content/bear-tips-hikers.
• Hang your backpack on a tree away from the ground. This will prevent critters from rifling through/nibbling on your pack.
• Craving a cold one? No problem! Sure, they’re heavy, but you know it’s worth it. Be sure to pack cans, not glass. You can chill ‘em in a nearby stream or lake—just make sure they’re secure!
• Bring a hammock (DUH)!
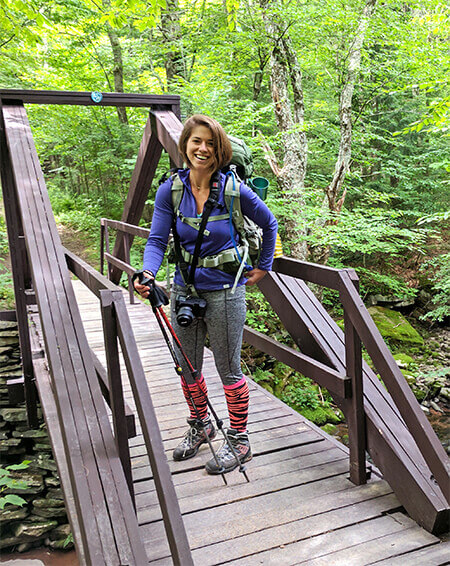
So there you have it, an essential guide to backpacking. Wishing you the best of luck on your next backcountry adventure. Happy trails! For more from Krysti and Unboring Exploring, visit unboringexploring.com.

