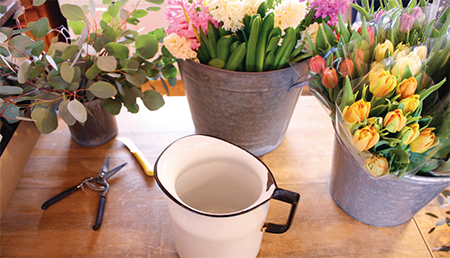
assemble tools and gather
Always start with clean tools and a clean container. Avoiding bacteria is the name of the game, as it will cause the arrangement to wilt and die off sooner. Gather the flowers, greenery, branches, and any special touches you’d like to use.
You can even wander outside your home and see what greenery and branchy plants call to you. For some gorgeous, seasonal flowers, Twilight Acres’ Homegrown grows and sells a vast amount of spring blooms for you to choose from.
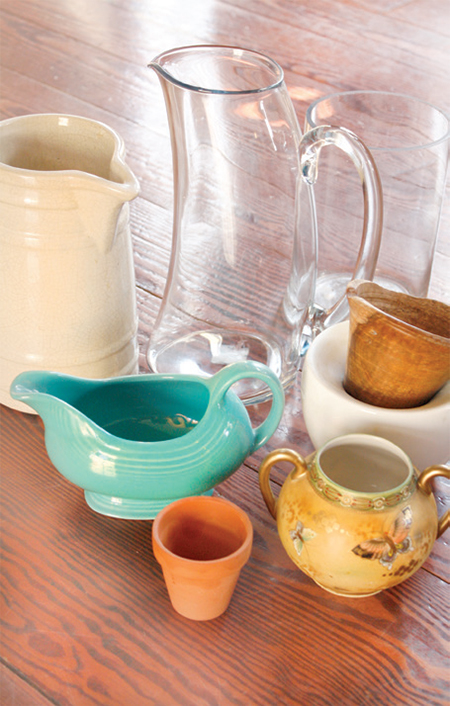
choose a container
Any of your liking will do. Think outside the box: a water pitcher, mason jars, tomato sauce jars, round food storage canisters, a large jug. On a smaller scale, even a coffee can, teacup, or salt and pepper shakers would be beautiful.
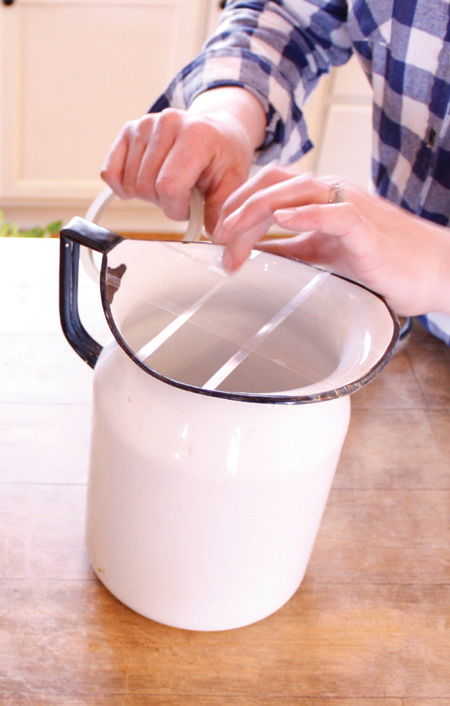
make a grid
With tape, create a grid or pound symbol (#) across the top of your container. Go around the trim of your container with tape as well, to hold your grid in place.
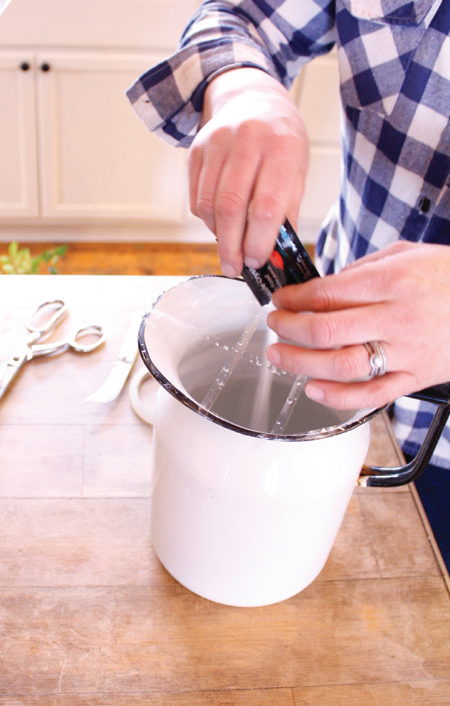
fill, feed and trim
Fill your chosen container with tepid water and add flower/plant food. Remove any leaves that would fall below your water line, as these will rot quicker, adding bacteria to your water and contaminating your arrangement.
build greenery
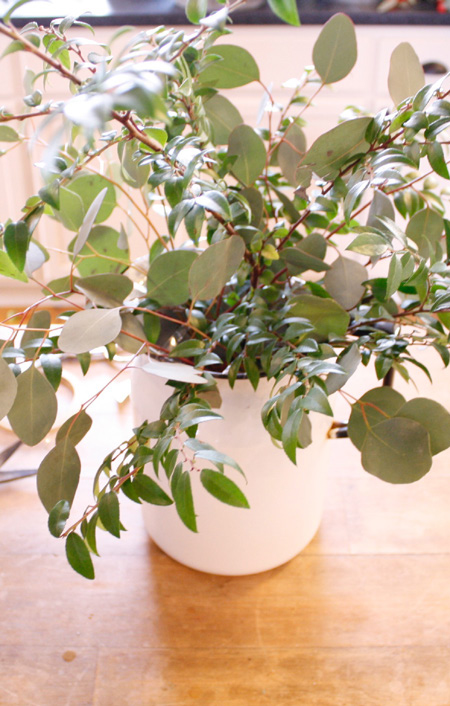
Begin with your greenery and longer, wispier pieces, such as huckleberry greens and silver dollar eucalyptus (pictured). Rotate your container as you work, creating a greenery frame for the rest of your arrangement to be built upon.
trim stems
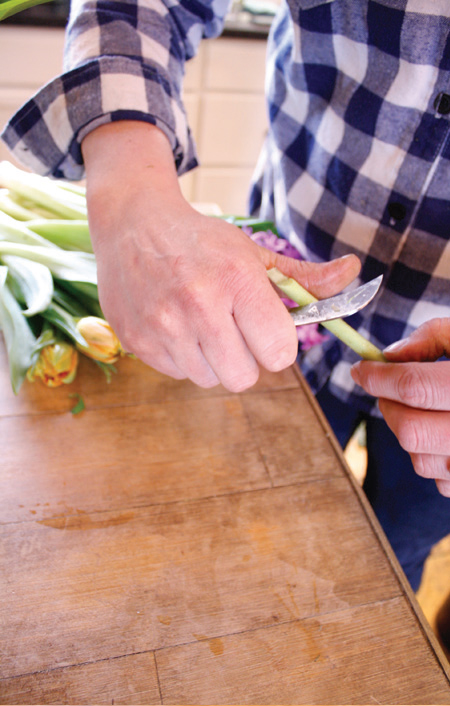
With a sharp garden or paring knife, trim the ends of your stems before you place them. Always cut stems at an angle to allow for better water absorption, and cut away from you, so as to avoid injury. Never use scissors, as the pressure will crush the cells of the flower stem.
it’s flower time
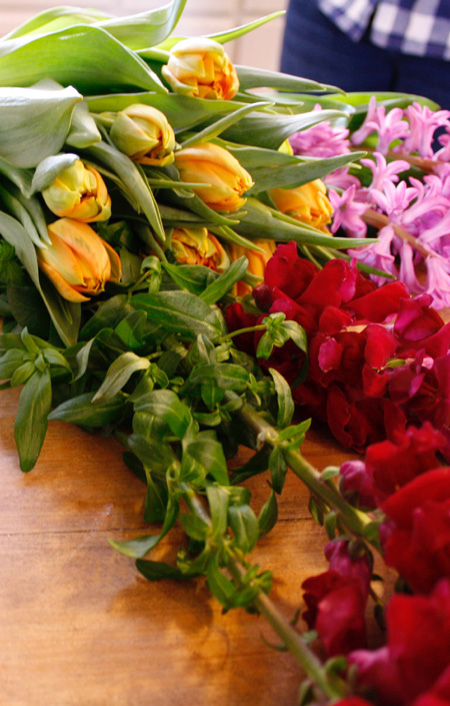
Begin adding in your colorful flowers, starting with the taller stems such as snap dragons (pictured), followed by an alternation of the shorter stems and taller stems (hyacinths, double tulips, and rice flower were used for this arrangement). Laura of Twilight Acres’ Homegrown suggests sticking to an odd number for each variety.
rotate and build
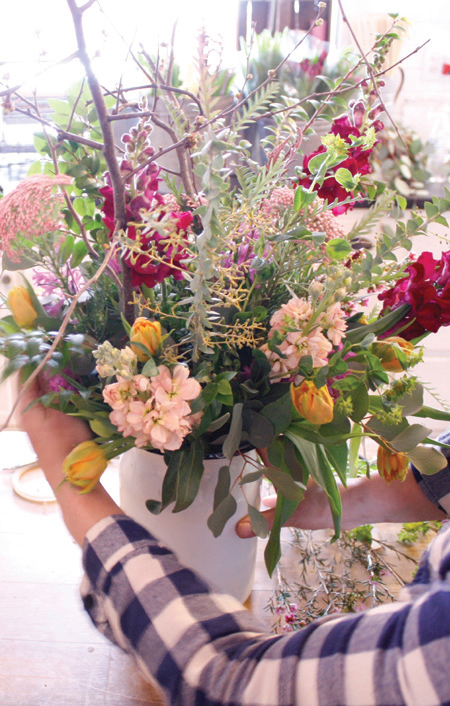
Continue rotating and building! It’s always better to have more materials on hand than less. Rotating the container allows you a view of how the arrangement is coming along, and will also guide you to where your next piece should be added.
add branches
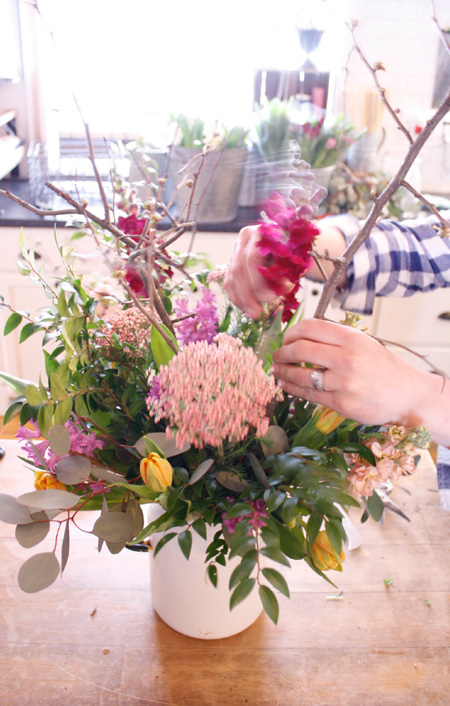
Next, add in your branchy pieces, such as quince or forsythia (Laura used quince for this arrangement). Even if your branches have no buds, if you continue to change out the water in your container, they will eventually bud and bloom!
give it air
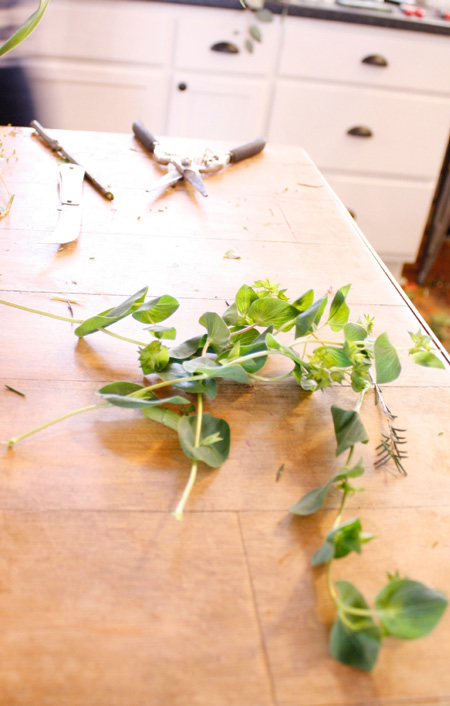
Lastly, add “air” to your arrangement, with taller, wispy pieces that move as you pass and float above the rest of the arrangement. Grasses and tall, light foliage works well here.
fill it in
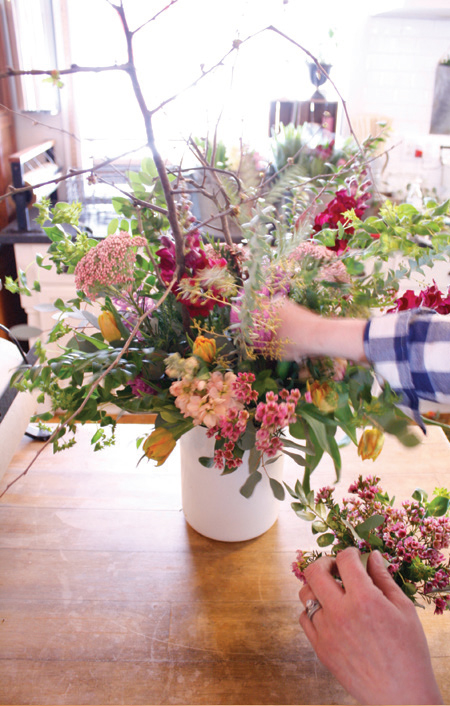
Add filler wherever you see holes or empty space; you want the final product to look as full and fabulous as possible. Acacia greens make a great filler. Rotate your arrangement one last time to check it over, and voilà!
use the extras
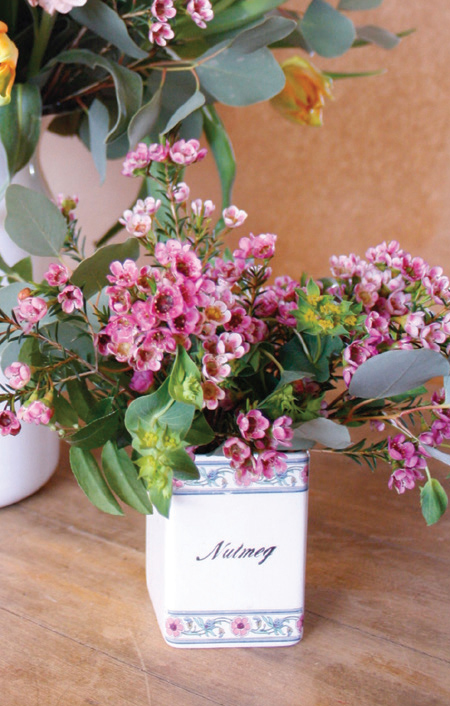
Use any extra materials to create a sweet, small arrangement. Here Laura shows how using an interesting container can really make an arrangement stand out.

